
Your cart (0)
Your cart is empty
Tax included and shipping calculated at checkout
Your cart is empty
Tax included and shipping calculated at checkout

Getting your artwork ready for large format printing is one of the most important steps in creating a professional vehicle wrap, wall graphic, or storefront sign. Unlike standard desktop printing, large format printing demands specific file preparation to ensure crisp results at scale. Whether you are wrapping a fleet of service vans in New York or branding an office lobby in Florida, proper artwork prep makes the difference between a stunning finish and a costly reprint.
At Printwise USA, we see artwork files come through our shop every day — and the projects that turn out best always start with a well-prepared file. This guide walks you through everything you need to know to get your artwork large-format ready.
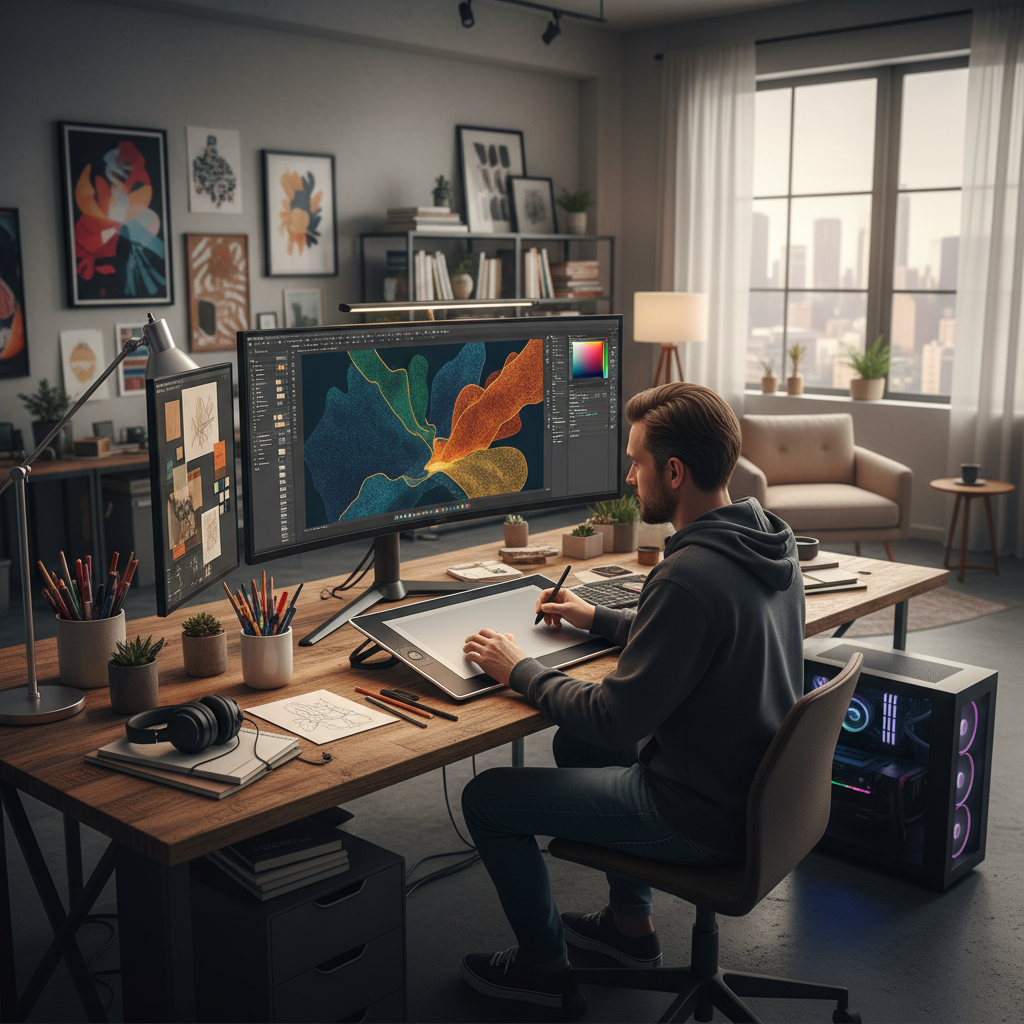
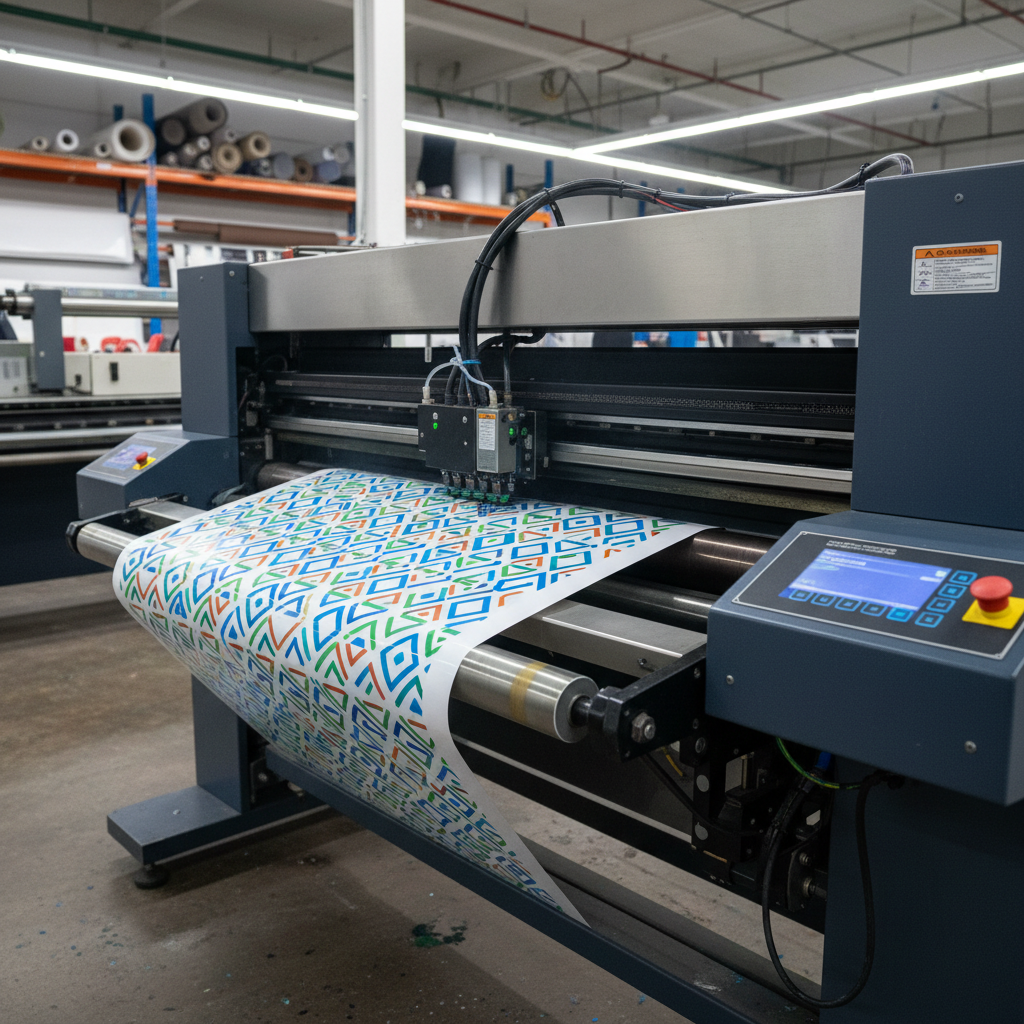
Large format printing refers to projects printed on wider roll-fed printers, typically anything over 18 inches wide. Common applications include vehicle wraps, wall murals, window graphics, banners, and floor graphics. Because these prints are viewed from varying distances — from a few inches to several feet away — the resolution, color accuracy, and file dimensions must all be carefully calibrated.
The golden rule for large format printing is 150 DPI (dots per inch) at full size. While standard print requires 300 DPI, large format graphics are generally viewed from a greater distance, making 150 DPI the sweet spot for quality and file manageability.
For example, a vehicle wrap panel that measures 48 inches wide by 36 inches tall needs a file that is at least 7200 x 5400 pixels at 150 DPI. Always check your document size settings in Adobe Illustrator, Photoshop, or your preferred design software before you begin.
Large format printers use CMYK (cyan, magenta, yellow, black) color mode — not RGB. Designing in RGB may result in colors that look vibrant on your screen but print dull or shifted. Convert your artwork to CMYK early in the design process.
We recommend using the U.S. Web Coated (SWOP) v2 profile for general large format work. If you are working with 3M IJ180CV3 Controltac Vinyl Wrap Film or other wrap-specific materials, check with your printer for their preferred ICC profile to match the material's color gamut.
Always create your document at the actual printed size. If your wall graphic is 10 feet wide, your file dimensions should match. Include at least 1/4 inch of bleed on all sides — this extra margin ensures that minor shifts during cutting or installation won't leave unprinted edges.
Keep all critical text and logos at least 1/2 inch away from the trim line. This "safe zone" prevents important content from being trimmed or folded under during installation.
Vector files (created in Adobe Illustrator or similar programs) scale infinitely without losing quality. Logos, company names, phone numbers, and any text elements should always be vectorized or converted to outlines before sending to print. Raster images (JPEGs, PNGs) pixelate when enlarged, while vectors stay razor sharp at any size.
If your logo exists only as a low-resolution JPEG, consider our Logo Vectorization Service to get a print-ready vector file created by our design team.
When you send a design file to a printer, they may not have the same fonts installed on their system. If a font is missing, the software will substitute it with something else — and your carefully chosen typeface could end up looking completely different.
To avoid this, always convert text to outlines (vector shapes) in Illustrator before saving your final file. This "locks in" the fonts so they appear exactly as designed, regardless of what fonts the printer has available.
Large format files with dozens of layers can cause rendering delays and even color shifts during print processing. Flatten your layers when possible, and review any spot colors (Pantone colors) to ensure they map correctly in CMYK. Use the Printwise Pantone Color Chart as a reference to match your brand colors accurately.
In addition to your full-resolution print file, send a low-resolution proof (a PDF at 72 DPI) showing how the final graphic should look. This gives both you and the printer a final chance to catch layout issues, spelling errors, or alignment problems before the expensive print run begins.
Most large format printers accept the following file formats:
Avoid sending JPEG files as your primary print file. JPEG compression introduces artifacts that become visible at large sizes.
Once your artwork is print-ready, the next step is choosing the right material. Printwise USA carries a wide range of premium vinyl wrap and graphic films suited for every application:
Whether you are a first-time customer or a seasoned fleet manager, our team at Printwise USA is happy to review your files before printing. We offer file preflight checks, design assistance, and free consultations to make sure your project turns out exactly the way you envisioned.
Proper artwork preparation saves time, money, and frustration. Follow these steps, and your next large format print project will go smoothly from file to finish. Browse our full product catalog to find the perfect materials for your next project.
Browse our premium print materials and get your custom wrap delivered nationwide.