
Your cart (0)
Your cart is empty
Tax included and shipping calculated at checkout
Your cart is empty
Tax included and shipping calculated at checkout

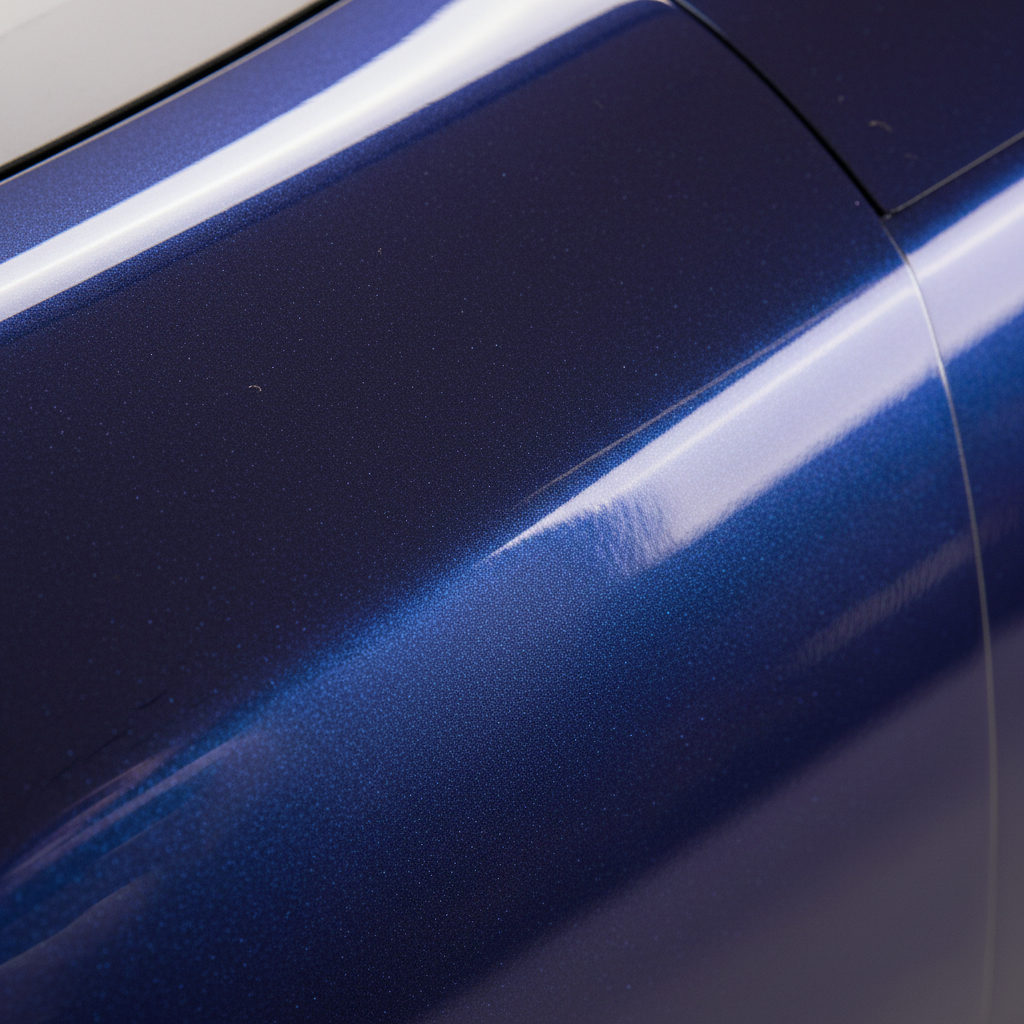
Close-up macro detail of vehicle wrap vinyl texture showing professional surface quality and finish
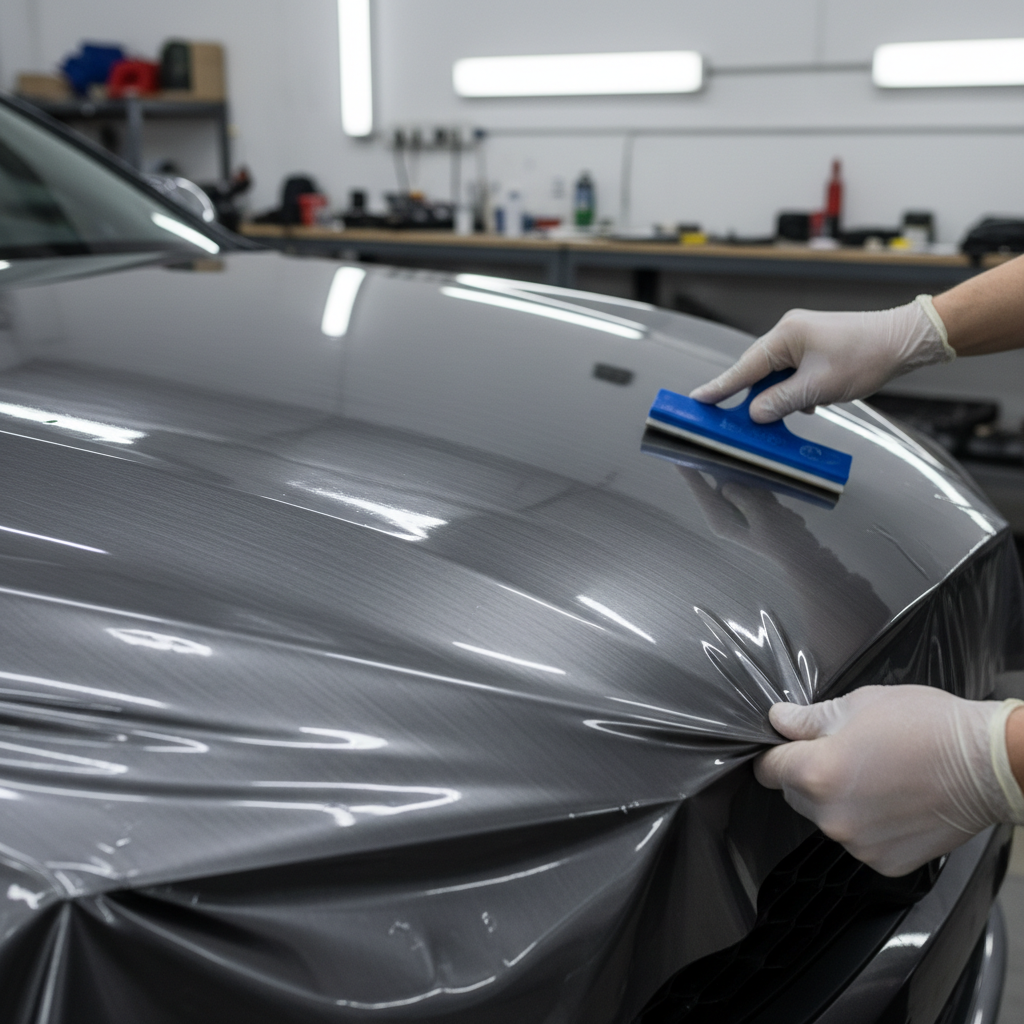
Professional installer applying vinyl wrap to a car hood with a squeegee, workshop setting
A well-designed vehicle wrap is one of the most cost-effective advertising investments a business can make. With an average cost-per-impression that crushes billboards, radio, and digital ads, a wrapped fleet vehicle can generate between 30,000 and 70,000 daily impressions depending on your market. But here's the catch — a bad design will get ignored just as fast as a plain white van.
At Printwise USA, we've printed thousands of vehicle wraps for businesses across the country, from small local contractors to national fleet operators. We've seen what works, what doesn't, and what separates a wrap that stops traffic from one that blends into the parking lot. Whether you're wrapping a single work truck or rolling out fifty fleet vehicles, this step-by-step guide will help you design a vehicle wrap that delivers real results.
Before you open any design software, ask yourself three questions:
The answers to these questions will shape every design decision that follows. A plumbing van working residential neighborhoods in Orlando needs a different approach than a catering truck cruising Manhattan. Your design should match both your brand identity and your target environment.
Not sure where to start? Printwise offers a custom design service where our team works with you to create a wrap that aligns with your brand and goals.
Your design is only as good as the material it's printed on. Vehicle wraps face extreme conditions — UV radiation, road debris, car washes, snow, and salt. Choosing the right vinyl film is critical for both appearance and longevity.
Pro tip: Always pair your printed film with a matching overlaminate. Lamination protects your design from UV fading, scratches, and chemical damage. At Printwise, every wrap is laminated with your choice of gloss or satin finish for maximum durability.
Color consistency can make or break a wrap. What looks vibrant on your monitor might come out dull or shifted when printed. This is especially important for wraps that feature brand colors — a wrong shade of blue can make your entire fleet look off-brand.
Here's how to ensure color accuracy:
A flat logo on a screen is not the same as a logo wrapping around a van's curved side panel. Vehicle wraps are three-dimensional by nature. Your design needs to work with the vehicle's contours, not against them.
Key design considerations:
If you're new to wrap design, review Printwise's file submission guidelines — they include template requirements and design best practices that will save you time and money.
Not all real estate on a vehicle is equal. Different panels offer different visibility and impact. Here's how to prioritize your layout:
Rule of thumb: One message per vehicle side. Don't cram your phone number, website, social handles, tagline, and five service offerings on one panel. Choose the single most important action and lead with it.
Brand name and logo come first. Website comes second. Phone number comes third. Everything else is a bonus that needs to earn its space.
Vehicle wraps are printed at large scale — often 50 to 100 inches wide. Low-resolution images that look fine on a computer screen will appear pixelated and blurry when blown up to vehicle size.
Resolution requirements:
At Printwise, we recommend submitting layered Adobe Illustrator or Photoshop files with all fonts converted to outlines. If you're unsure whether your artwork is print-ready, our file submission guidelines page has detailed specifications for every file type.
A beautiful vehicle wrap with no clear next step is a missed opportunity. Every wrap should include:
The best design in the world will look disappointing if printed poorly or installed badly. Choosing the right print partner is the final — and most important — step in the process.
What to look for in a vehicle wrap printer:
Printwise USA checks every box. We use Epson S8170 professional printers, premium 3M, Avery Dennison, and Mactac materials, and offer gloss or satin lamination on every order. Upload your design, choose your material, and we deliver print-ready panels to your door anywhere in the United States.
Designing a high-impact vehicle wrap doesn't have to be complicated. Follow these steps — define your goals, choose quality materials, design for the vehicle's shape, and partner with a printer who shares your standards. Whether you're wrapping one truck or an entire fleet, the principles are the same.
Use our Vehicle Wrap Calculator to estimate material needs and pricing for your project. For a full walkthrough of the process from design to delivery, visit How It Works or contact our team directly. Your next vehicle wrap is only a few steps away — make it one that gets results.
Browse our premium print materials and get your custom wrap delivered nationwide.